DIY
-
4/1/2022
3D Printed Ghostbusters Afterlife Proton Pack
This proton pack was a challenge and a half that I've always wanted to take on. I actually ended up taking it on after an anime convention in 2022 where someone asked me if my Spirit Proton Pack I Modded did a lot of different things, which it did not, and I decided then that I would come next year with a wayyy better pack. So that's why I started this project..

The Start of the Project
The start of this pack was a trainwreck as I was all over the place trying to find decent Models that were 100% to scale and after hours if not days of searching I finally came upon the Q-Pack. This is a great recreation of all the different varients of the Proton packs from the 1984 to the latest afterlife pack! It is 100% to scale and 3D Printer/Tinkering Friendly.
The only caviat with this route is that the instructions for building it are locked behind a paywall on the creators Etsy, which isn't an issue but could be a turnoff for some.
The Printpocolypse
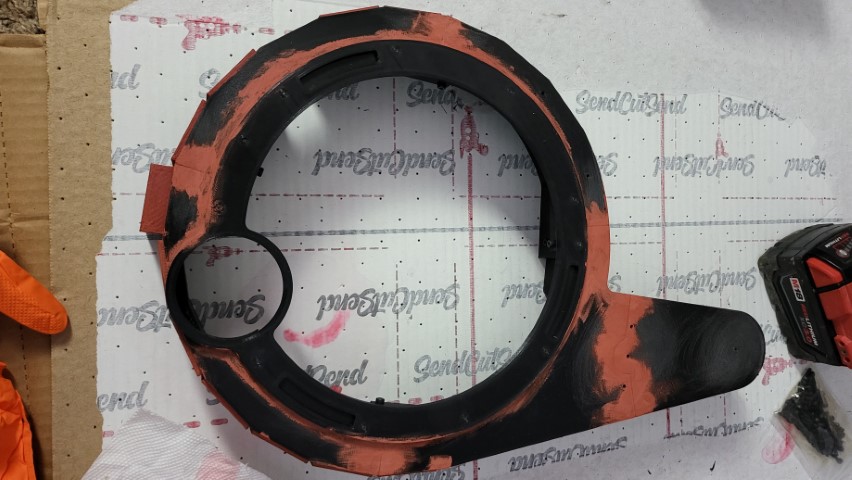
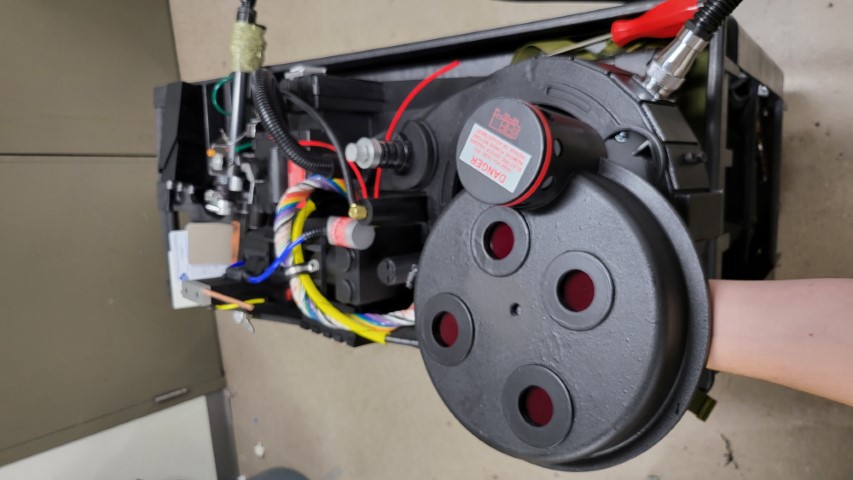
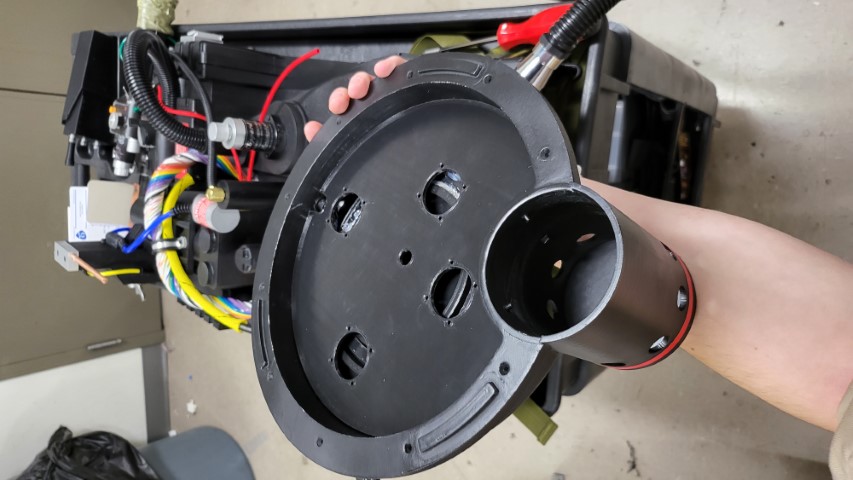
So this is where things get long and boring.. After getting all the models I wanted I had to then edit them and print them to match my specifications. The estimated print time for this project is between 2-4 weeks and an estimate of about 2-3 rolls of 1kg filament, I apparently misread these instructions because it took me almost 5 months and over 5+ 1kg rolls of PLA+... Specifically because of this part in particular:
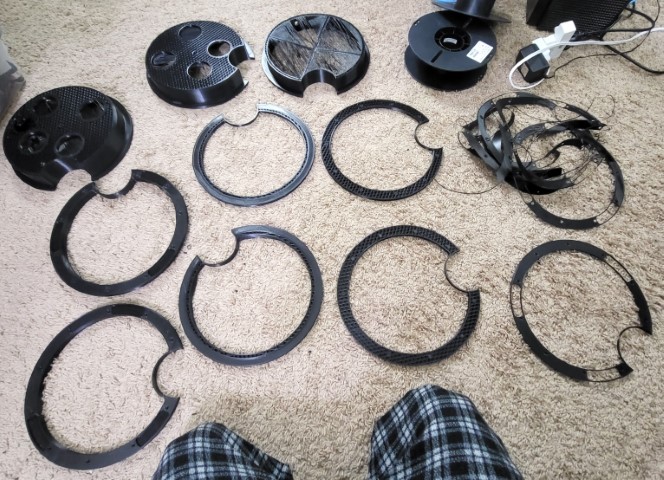
That is the Cyclotron Cover.. It caused me the most issues due to various printer issues that surfaced during its time printing aswell as taking me over 3 months to print while trying to fix my printer with a very limited budget. If you are interested in seeing all of the failures and or just the printing of the pack parts in general head over to the videos page!
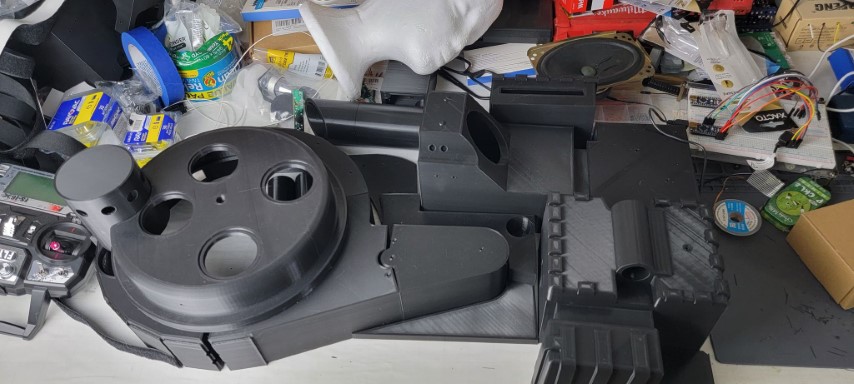
After that I got quite a few other parts printed off and started the basic assembly, now I am not going to go through all the parts needed in the assembly as it is provided in the github but make sure you order a TON more screws than listed as mine took wayyyy more than listed. It is also very hard to find specific screws but check your local hardware stores or buy in bulk online!
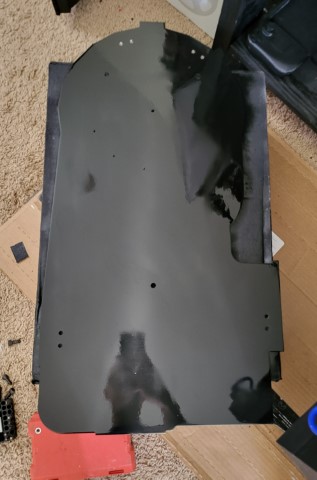
Screwing, gluing, Sanding, and Filling
So after everything is printed you should glue the sides with something like a 2-part epoxy then screw them together, make sure they are fully screwed together because once that epoxy hardens that will NOT come apart.
Once the parts have sat for around 24-ish hours for the glue to dry you can move onto sanding and filling! This is probably the most tedious part of it all as you have to keep sanding and filling, sanding and filling, and sanding and filling untill your pack is nice and smooth with no layer lines and the gaps are gone.
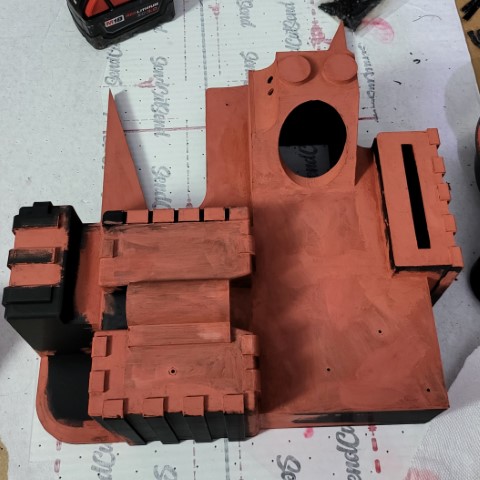
Once you are done sanding and filling you can do your first coat of primer! Be sure to spray even coatings as you don't want to clump up your primer in some locations as it will start dripping and leaving drip lines though you can easily sand it away so it isn't too much of an issue at this point! I used Rustoleum Gray Primer for my build but feel free to use whatever you like just make sure to stick to that brand as if you mix brands of paints it can cause some strange and unwanted reactions!
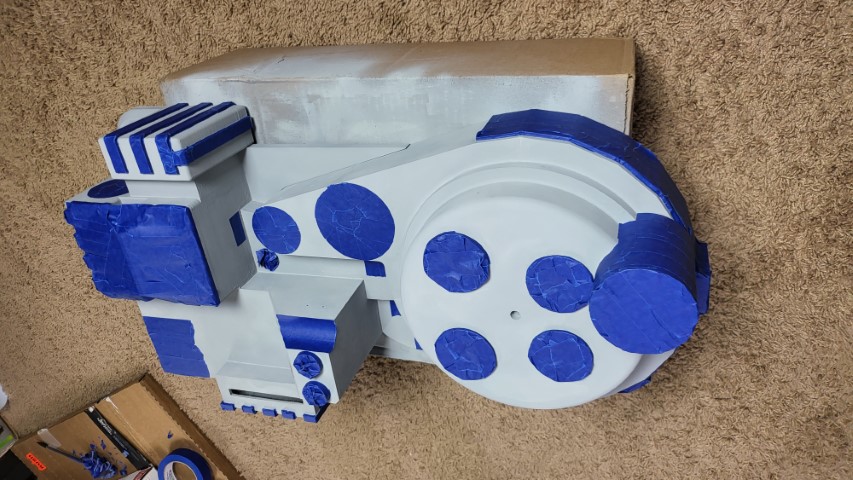
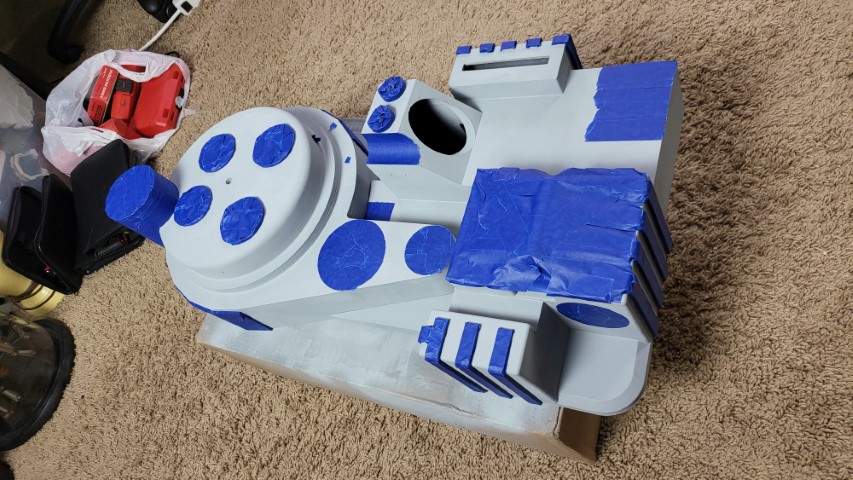
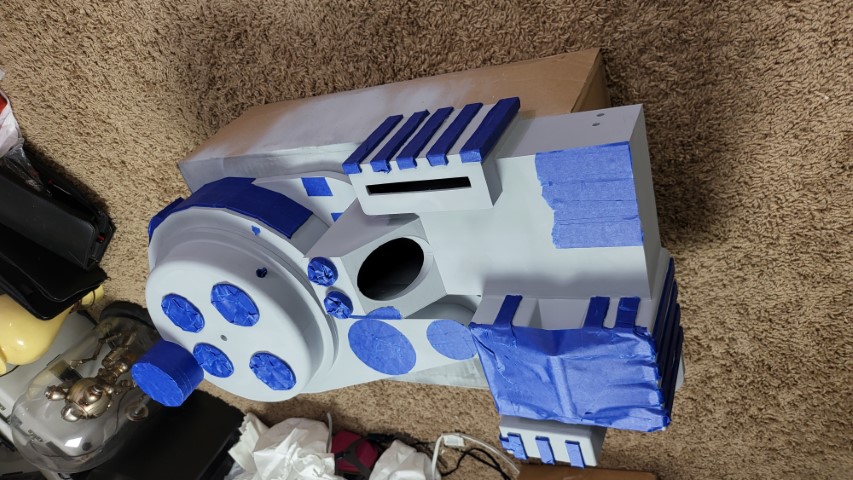
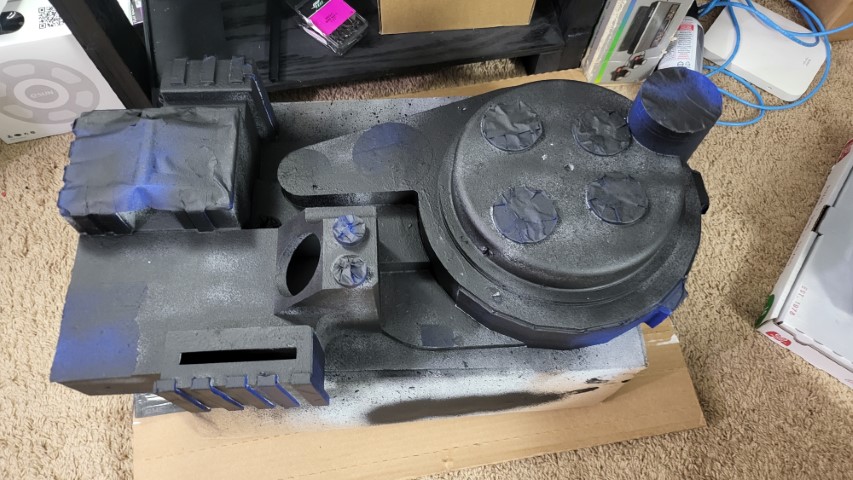
Taping and Texturing
After you've primed your pack to your likings you can get it taped off for texturing, this part is relatively simple but also tedious. You will need some type of painters masking tape, a precision knife, and a lot of patience. Here are some pictures showing where you shouldn't texture and should be masked off before texturing. This is all optional and if you want texture in these areas then by all means, go ahead!
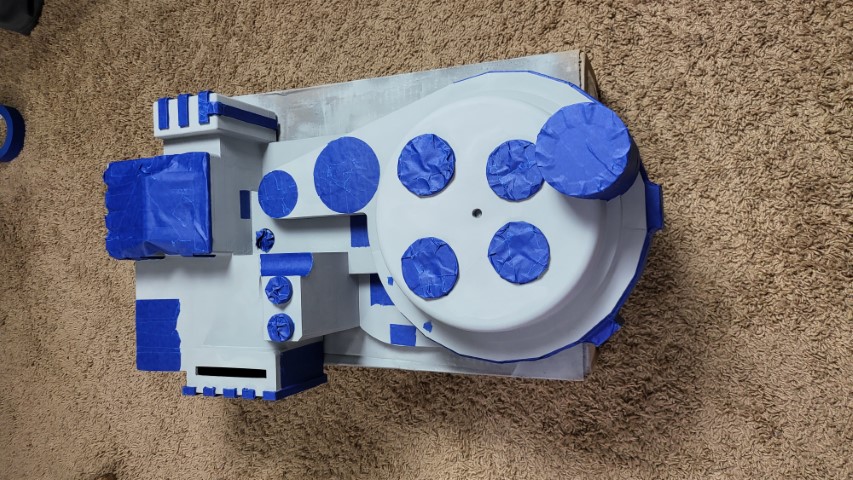
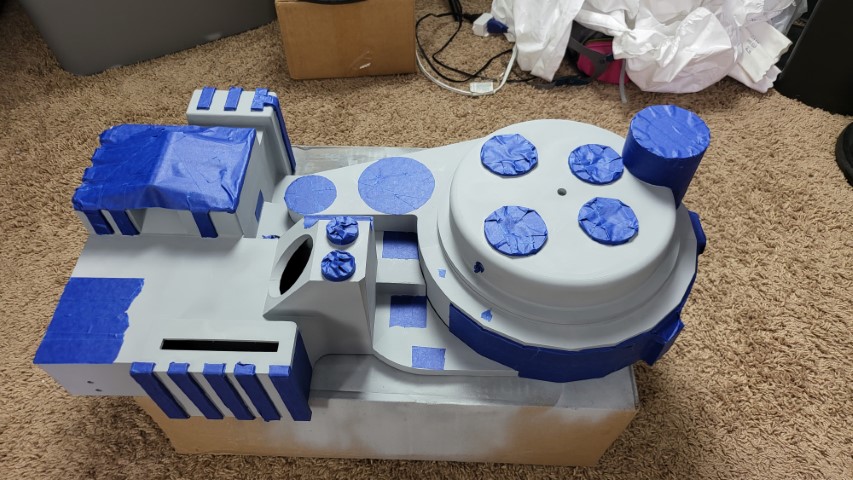
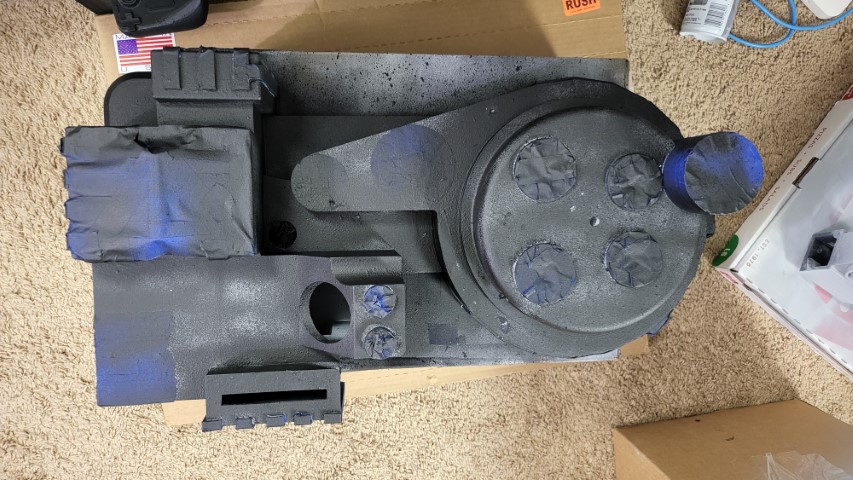
When texturing I recommend using a hammered or Orange Peel like texture, I used Rustoleum Rugged Black myself and personally I think it could've been better but I liked how it turned out either way! Be sure to evenly coat your pack with texturing and try not to focus on specific spots. I recommend testing your texturing on a test print before applying it to your pack first.
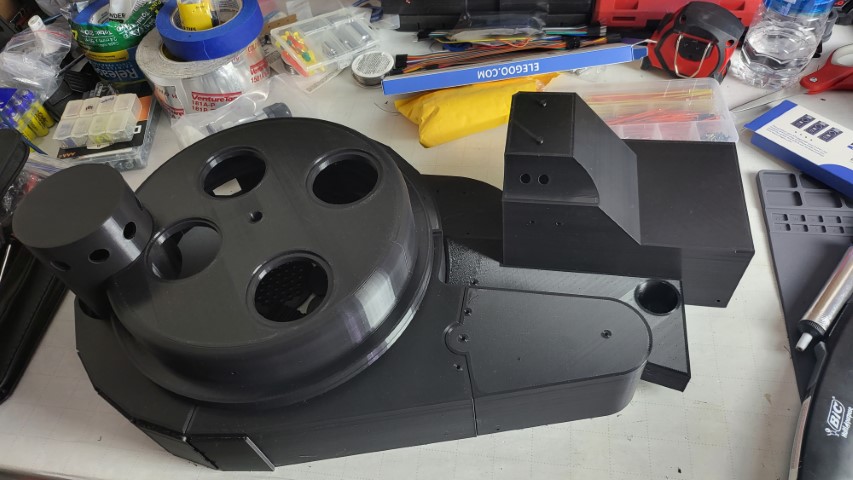
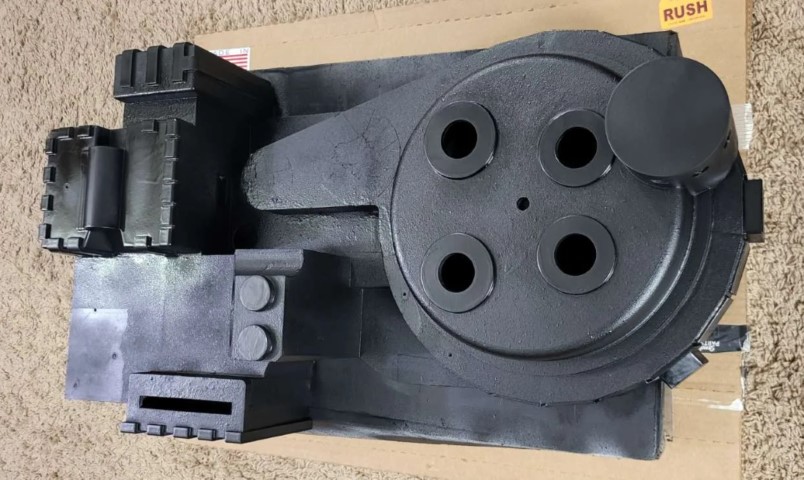
Painting your Pack
Painting your pack is the easiest part of them all, you just have to be very thourough and do multiple even coatings. This could take a few days and be sure you let it dry fully before adding your next coating on or your earlier layers could start coming off. I used Rustoleum Satin Black paint but there are some other options out there, I personally liked the darker black look on my pack as I want it to look less worn and slightly weathered in the end.
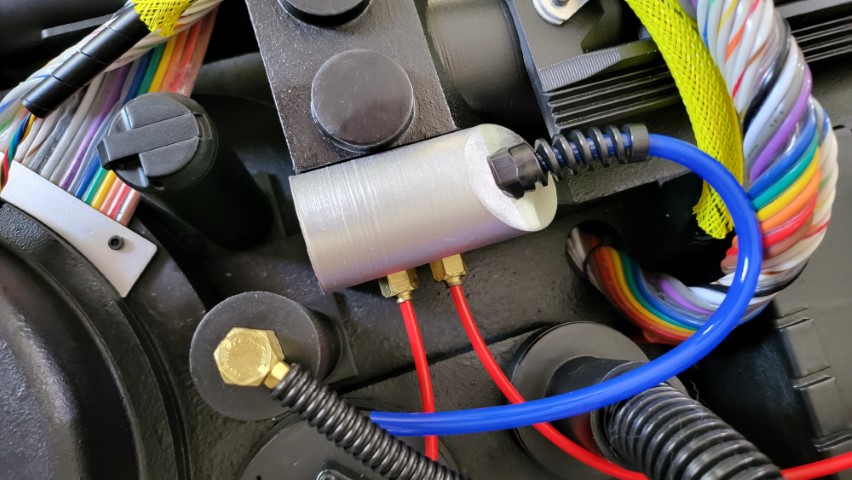
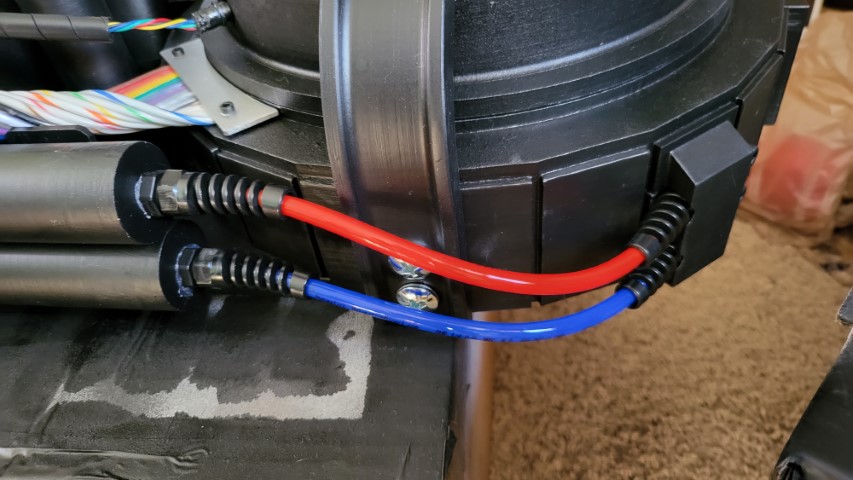
Wiring and Detailing
Once your done painting your pack you can finally get onto your details and wiring! I recommend doing wiring on the side before you put it into your pack to make sure it works. I personally ran the wires I had too first which was the loom and Cyclotron side wires to get them out of the way then I went onto detailing the exterior first. I will not be including all of the parts that I used as most of them are either no longer for sale or were bought from local hardware stores but you can easily head into the Facebook group and search or ask for yourself what parts everyone is using and who they are buying from as they are very friendly and helpful!
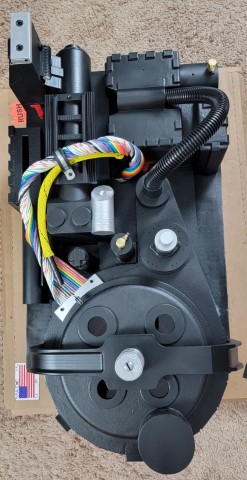
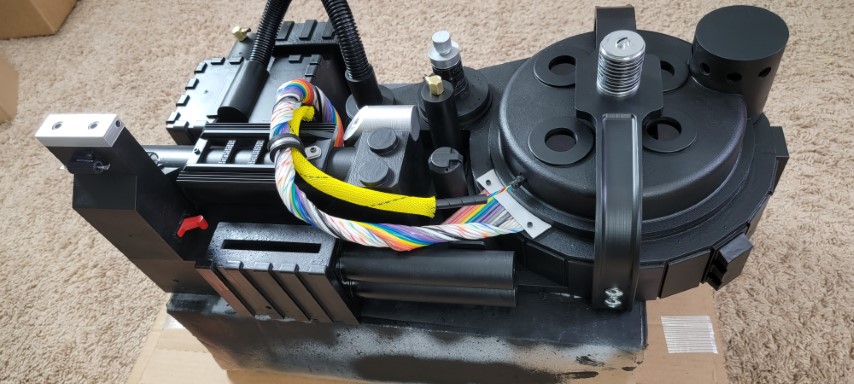
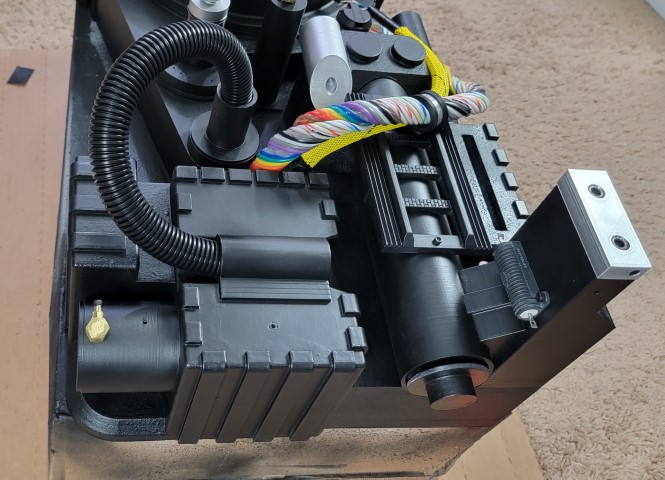
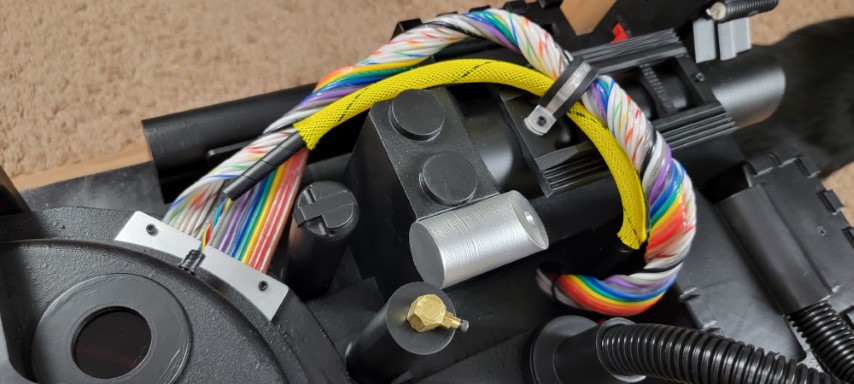
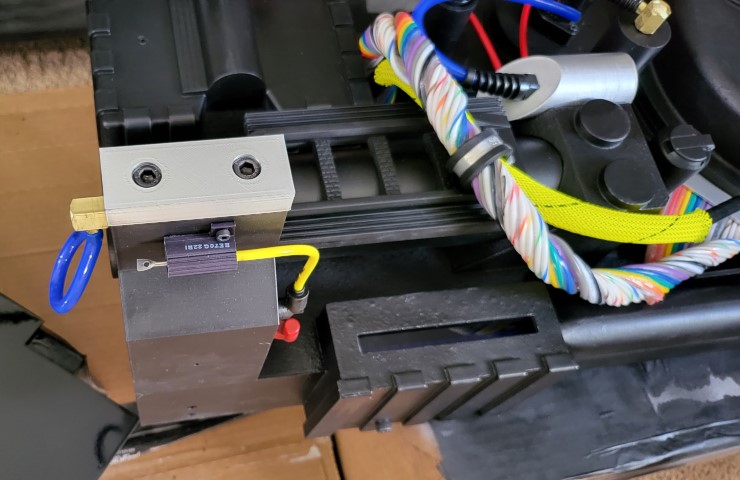
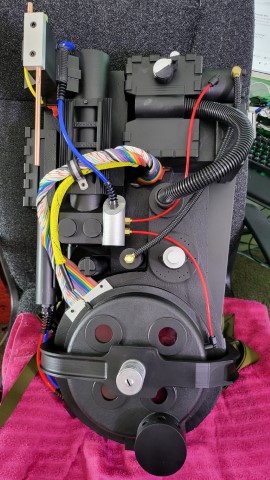
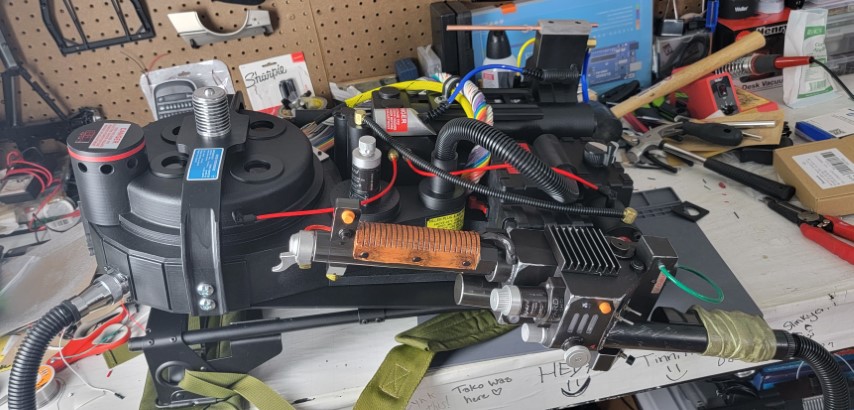
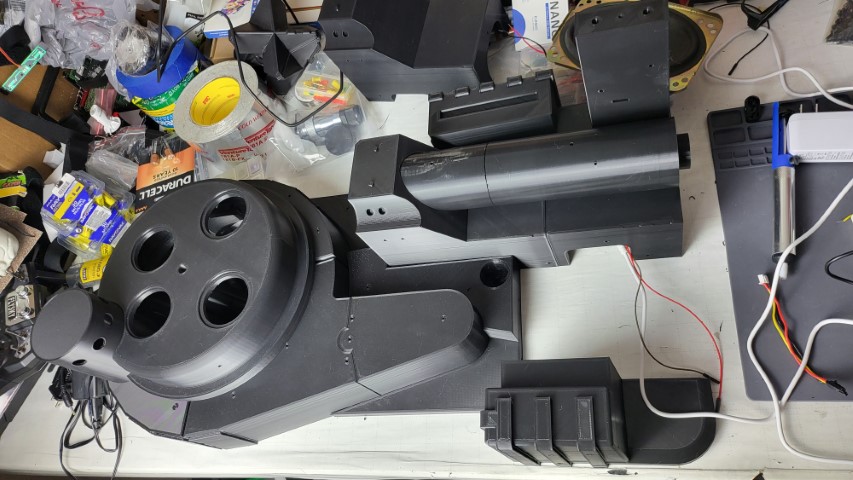
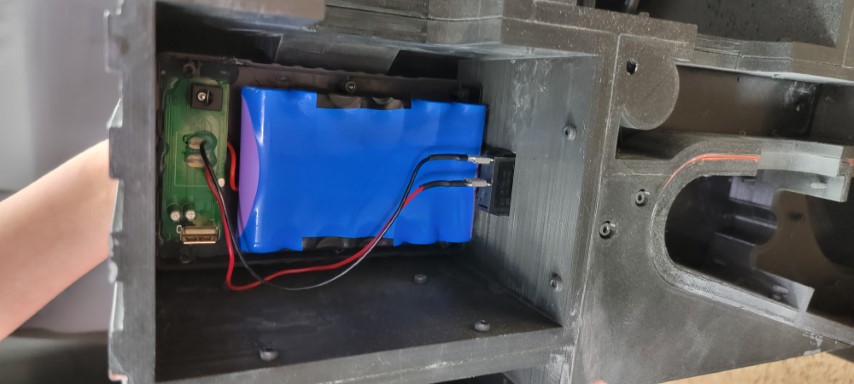
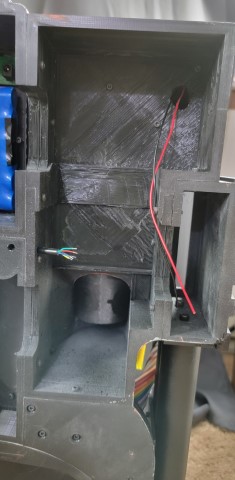
Electronics and Code
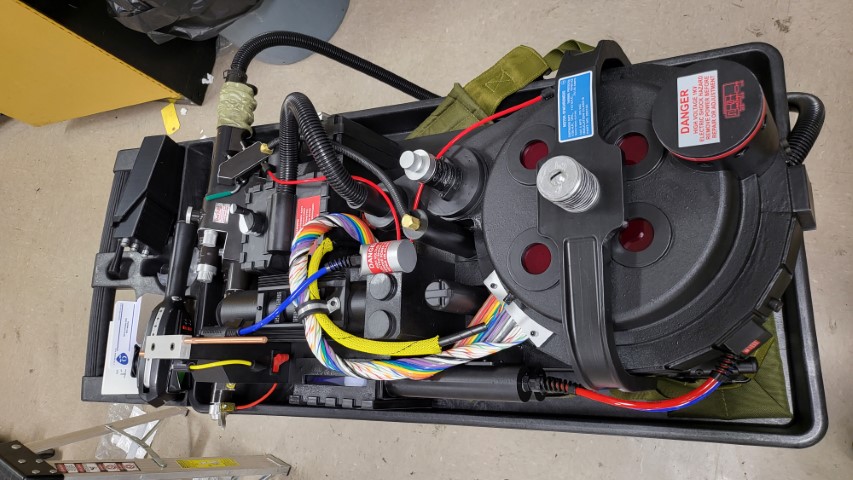
So this is the part where I am not fully finished on but I do have my pack lighting installed and running some very basic code which is not ready to be shared. But I will however share the pictures of everything I have. Currently I am running a TalentCell Battery aswell to power the pack!

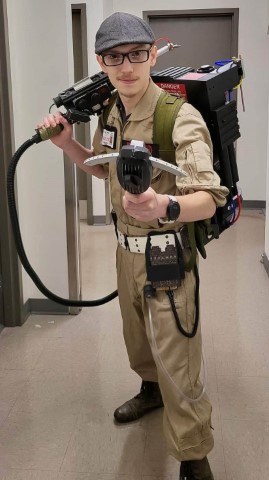
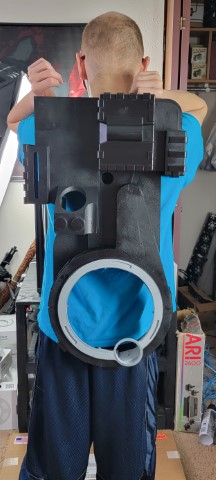
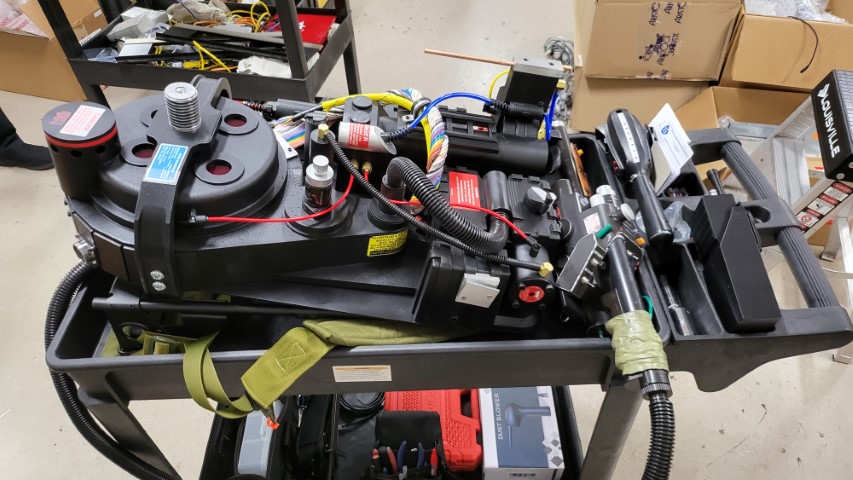
Conclusion
As stated before I have not fully finalized my pack but when I do I will update this page with more information for now though I will leave you with a few pictures of my Cosplay and the Pack together, enjoy and see you when I can finish this finally!

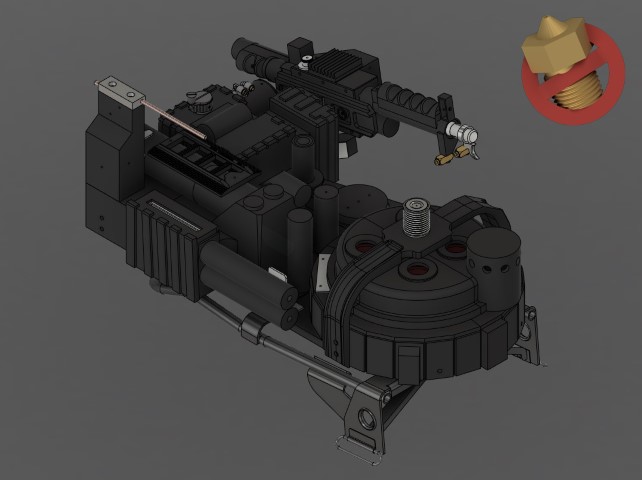
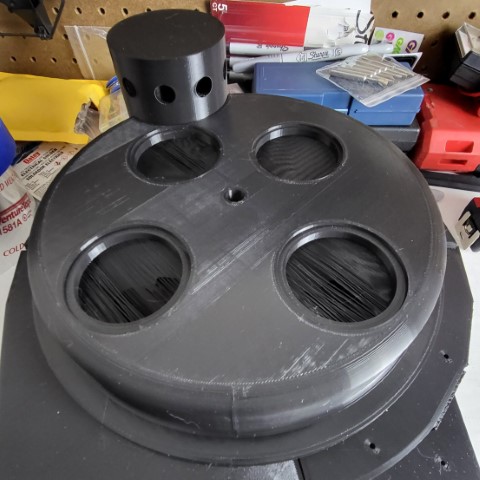
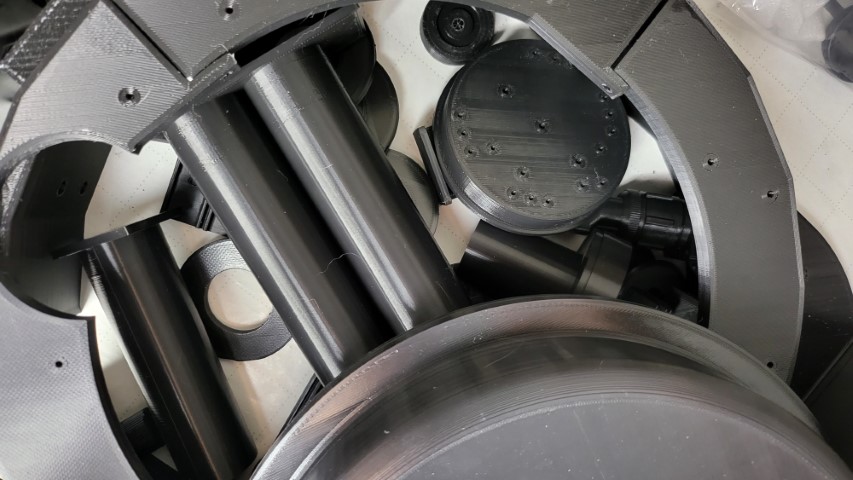
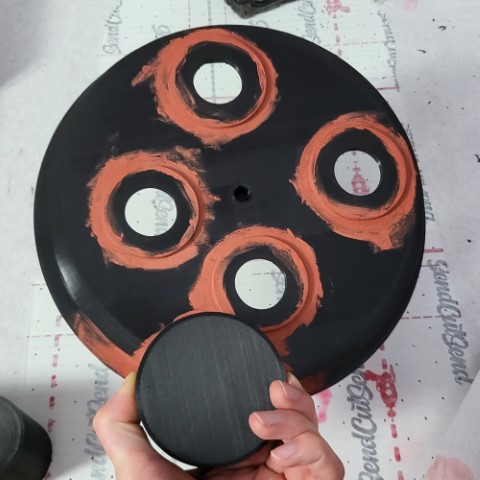
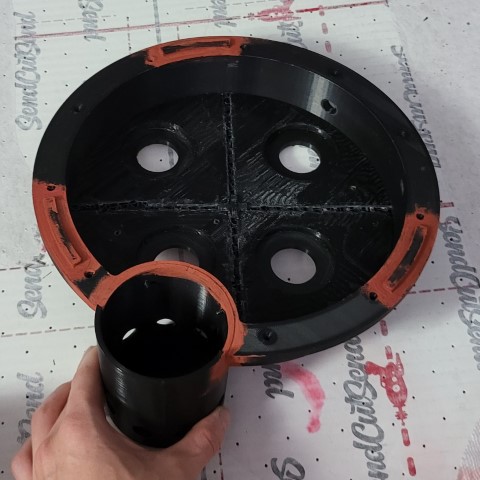
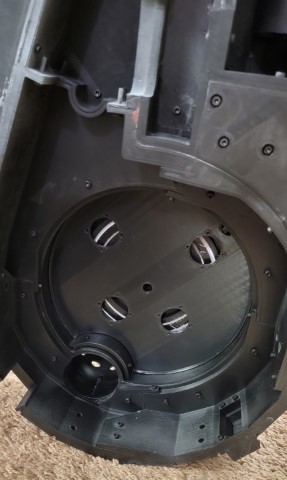
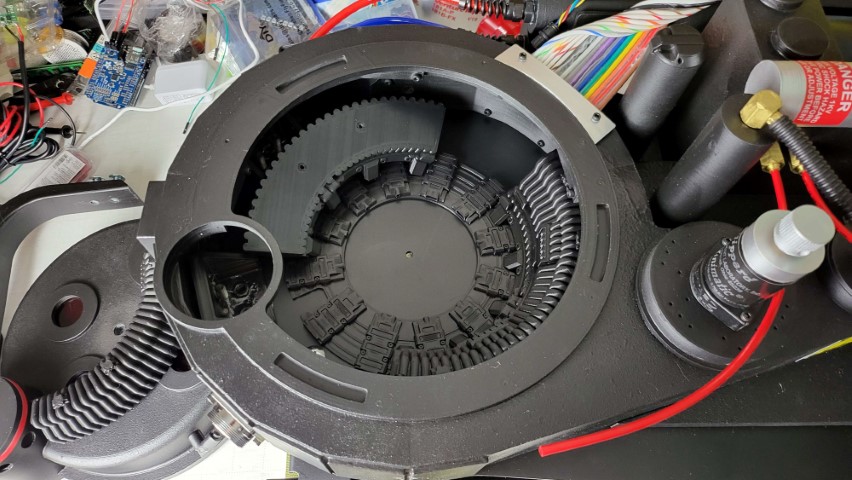
Check out the inside of the cyclotron!
I will explain more about this in the future but for now you can check out what the inside of the cyclotron will end up looking like as these are just prints and not finalized peices!
Stay tuned for more information!
There will be more pictures of the complete process of my proton pack! But for now check out the videos page to see the printing of the proton pack parts!
Downloads
Name
Upload Date
File Size
No Files to Display
Notes
No Notes to Display, check back later!